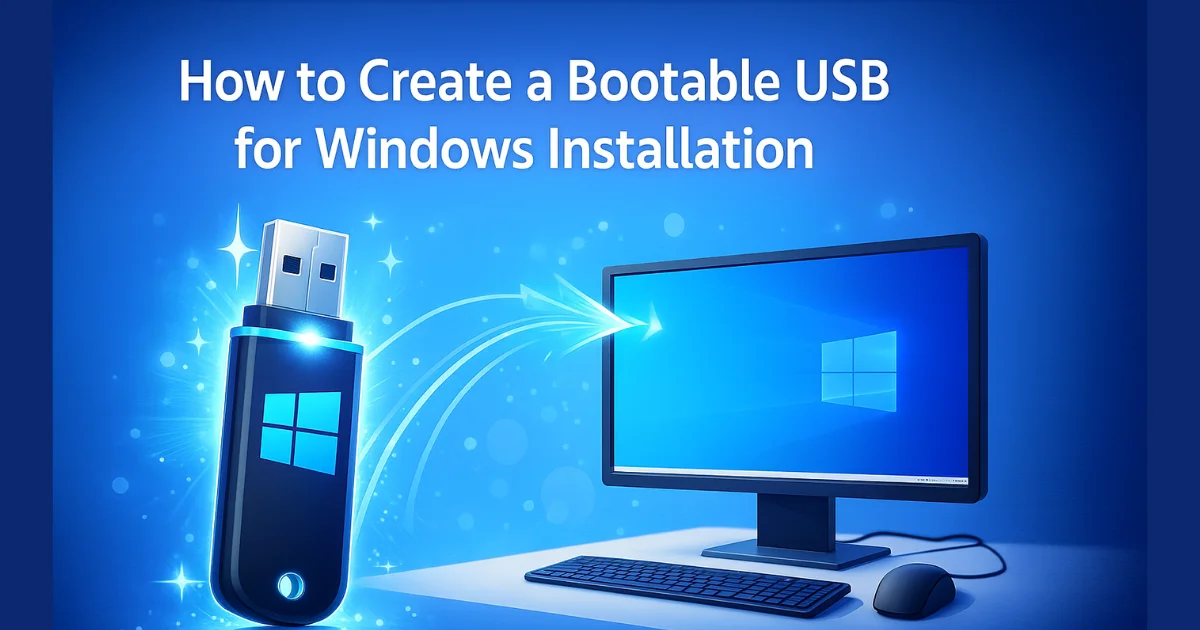
Whether you’re upgrading to a new version of Windows, fixing a corrupted operating system, or building a PC from scratch, one tool has become the universal solution — How to Create a Bootable USB for Windows Installation. Gone are the days of installing Windows from DVDs. Today, creating a Windows bootable USB is not only faster but also more reliable and almost error-free, especially if done using Microsoft’s official method.
However, many users still hesitate because they fear the process might be technical or risky. Questions like “What if I erase the wrong drive?”, “Do I need an ISO file?” and “Which version should I choose — Home, Pro, 64-bit?” are common. This guide aims to simplify everything — no complex jargon, no shortcuts that may fail later. You’ll learn the safest and most reliable way to create a bootable USB for Windows installation in 2025, using the Microsoft Media Creation Tool.
Also Read: How to Sync Chrome Bookmarks Across Devices – Full Step-by-Step Guide
Why Creating a Bootable USB Matters More Than Ever
Windows installations have evolved dramatically over the years. A bootable USB ensures:
- Faster installation speed than DVD
- Portable Windows setup for multiple computers
- Easy reinstallation if system crashes
- Smooth upgrade from Windows 7/8 to Windows 10/11
- Compatibility with modern devices that lack DVD drives
On top of that, Microsoft now releases major updates more frequently. Installing via USB ensures you start with the latest build instead of outdated installation discs.
When You Should Consider Creating a Bootable USB
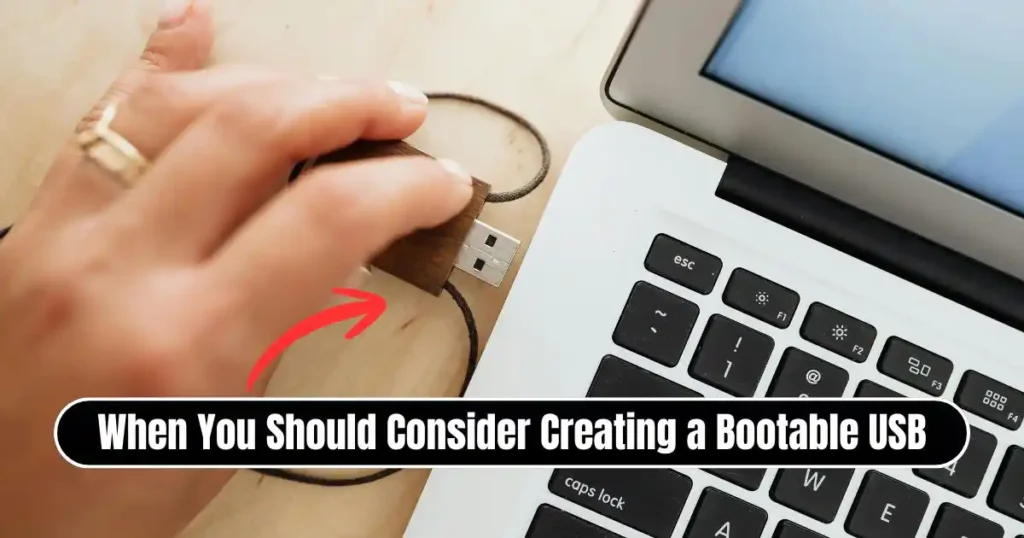
You might need a Windows installation USB in scenarios like:
| Scenario | Why Bootable USB Helps |
|---|---|
| Installing Windows on a new PC | Clean installation without old junk |
| OS corrupted / blue screen loop | Fresh Windows installation without needing login |
| Upgrading from Windows 7/8 | Easier and faster than online upgrade |
| Dual boot setup | Install another Windows version alongside |
| Troubleshooting boot issues | Run system recovery or repair options |
Simply put, it’s one of the most powerful tools every computer user should have.
What You Need Before You Start
Before beginning the bootable USB creation process, ensure the following:
A computer with stable internet
The tool downloads the latest Windows installation files — unstable connections may interrupt the process.
A USB flash drive (minimum 8 GB)
Higher capacity (16 GB or 32 GB) is recommended for future update compatibility.
⚠ Warning: All data on the USB will be erased. Back up your files first.
Windows product key (optional)
Most modern PCs (especially OEM laptops) have a digital license linked to hardware. If so, you don’t need to manually enter a product key during installation.
Why Use the Microsoft Media Creation Tool?
There are many third-party software options for making bootable USBs, but the Media Creation Tool stands above the rest because:
- It downloads the official Windows files directly from Microsoft
- It automatically formats the USB correctly
- It eliminates ISO or command-line steps
- It prevents common boot errors
- It ensures installation media is up to date
For beginners and tech experts alike, it remains the safest and most trusted approach.
Also Read: How to Free Up Space in Google Drive, Gmail, & Photos- Complete Guide
Step-by-Step Guide to Create a Bootable USB Using the Media Creation Tool
Let’s walk through the complete procedure with clarity.
Step 1: Download the Media Creation Tool
Visit the official Microsoft download page based on your required version:
| Windows Version | Microsoft Download Page Option |
|---|---|
| Windows 11 | “Download Now” under Create Windows 11 Installation Media |
| Windows 10 | “Download Now” under Create Windows 10 Installation Media |
Download the file named MediaCreationTool.exe.
Step 2: Launch the Tool
- Double-click the downloaded file
- If asked by User Account Control, select Yes
- Wait for the tool to initialize
Many users think this stage freezes, but it sometimes takes up to 1–2 minutes depending on system speed.
Step 3: Accept the License Agreement
Read the Microsoft Software License Terms and click Accept to proceed.
Step 4: Choose Installation Mode
You’ll see the question:
“What do you want to do?”
Select:
Create installation media (USB flash drive, DVD, or ISO file) for another PC
Then click Next.
This option enables you to prepare a bootable USB even if the target PC is different.
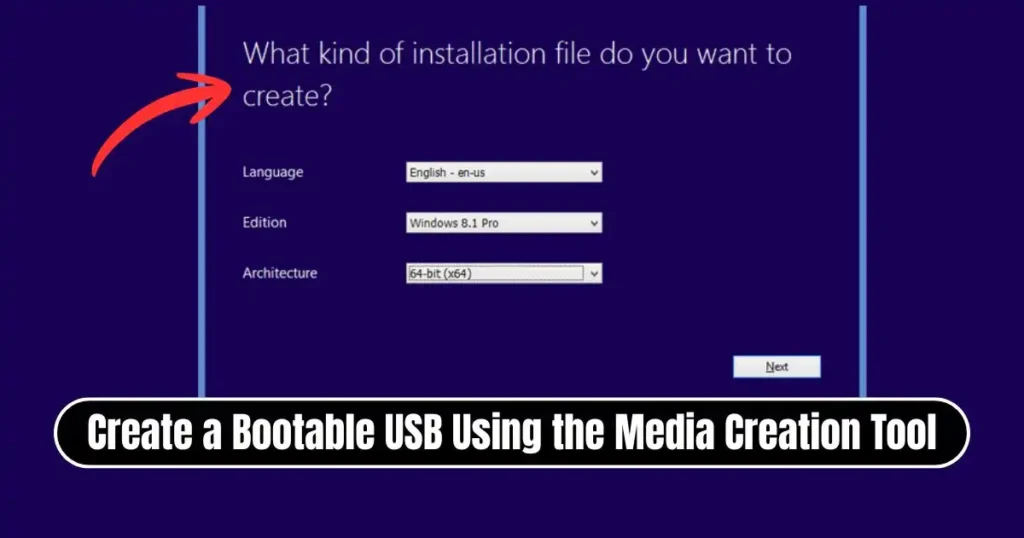
Step 5: Select Language, Edition, and Architecture
You’ll notice a box that says:
☑ Use the recommended options for this PC
You may leave it checked if you are creating media for the same system.
Otherwise, uncheck it and manually set:
| Option | Recommendation |
|---|---|
| Language | English (or preferred) |
| Edition | Windows 10 / 11 Home OR Pro |
| Architecture | 64-bit (most common) |
Step 6: Select Media Type
Choose:
USB flash drive
Hit Next.
Step 7: Choose the Correct USB Drive
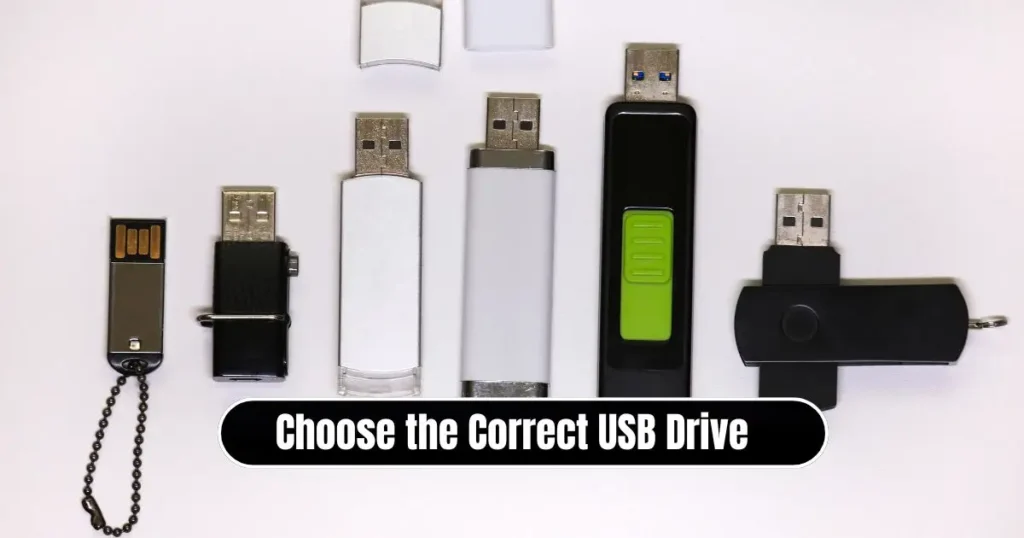
The tool will display removable drives. Select your USB flash drive carefully.
⚠ Selecting the wrong drive may erase an external hard disk or another USB.
Click Next to continue.
Step 8: Download + Create Bootable USB (The Main Process)
This step performs two tasks:
- Downloads Windows installation files
- Converts them into a bootable USB
The time depends on:
| Factor | Effect |
|---|---|
| Internet speed | Faster download = faster completion |
| USB write speed | USB 3.0 drives reduce waiting time |
| Windows version | Windows 11 is larger than Windows 10 |
You must maintain:
- Stable internet
- Continuous power supply
- No forced shutdown
Step 9: Completion
Once the progress bar reaches 100%, you’ll see:
“Installation media has been created.”
Click Finish.
You now have a ready-to-use Windows bootable USB drive.
How to Use the Bootable USB to Install Windows

- Insert the USB into the target PC
- Restart the computer
- Press the Boot Menu key during startup
Common boot keys by brand:
| Brand | Boot Menu Key |
|---|---|
| Dell | F12 |
| HP | Esc or F9 |
| Lenovo | F12 |
| Acer | F12 |
| ASUS | Esc |
| MSI | F11 |
| Toshiba | F12 |
- Select USB Storage Device
- The Windows setup screen will appear
- Follow the on-screen instructions to install Windows
Pro Tips for a Smooth Windows Installation
| Tip | Benefit |
|---|---|
| Disconnect internet during install (optional) | Skip Microsoft account requirement |
| Back up files before formatting | Prevent data loss |
| Choose GPT partition style | Best for UEFI systems |
| Use SSD for installation drive | Dramatically improves speed |
| Keep drivers ready | Especially Wi-Fi and graphics |
Alternative Methods (For Advanced Users Only)

If for some reason you prefer not to use the Media Creation Tool, other options exist:
- Rufus (for custom ISO flashing)
- Ventoy (multi-boot USB)
- Command Prompt + DiskPart method (manual boot sector setup)
However, these require additional steps and carry a higher risk of error — especially for beginners.
For 99% of users, Microsoft Media Creation Tool remains the best method.
Final Thoughts
Creating a Windows bootable USB is no longer a technical task reserved for IT experts. With Microsoft’s Media Creation Tool, the entire procedure becomes predictable, safe, and automated. Whether you’re upgrading or repairing your PC, a bootable USB will always save time, frustration, and unexpected expenses.
If you haven’t created one yet, do it now — you’ll thank yourself the next time Windows fails unexpectedly.
FAQs: How to Create a Bootable USB for Windows Installation
1. Can I create the USB on one PC and install Windows on another?
Yes. The installation media works on any compatible computer regardless of where it was created.
2. Will my files be deleted during installation?
If you choose Upgrade, files can be kept.
If you choose Custom Install, formatting the drive will erase everything.
3. Can I reuse the same USB for future installations?
Yes. Once created, the USB can be used multiple times unless you format it.
4. What is the ideal USB type?
USB 3.0 with at least 16 GB storage ensures the best speed and compatibility.
5. Can I install Windows without a product key?
Yes. You can skip the key during installation and activate later if needed.
Disclaimer: This article is intended for educational and informational purposes only. Windows installation files must be downloaded exclusively from the official Microsoft website. We do not promote or support software piracy or use of unauthorized ISO downloads. Users are responsible for following software licensing terms and applicable laws in their region.
Also Read: How to Use Google Drive for Backup and File Sharing- Step by Step Guide

Raj Prajapati is a skilled content writer dedicated to creating clear, step-by-step guides on technology, Health, and everyday solutions. With a focus on user-friendly and SEO-optimized content, he simplifies complex topics, helping readers learn and solve problems effortlessly.